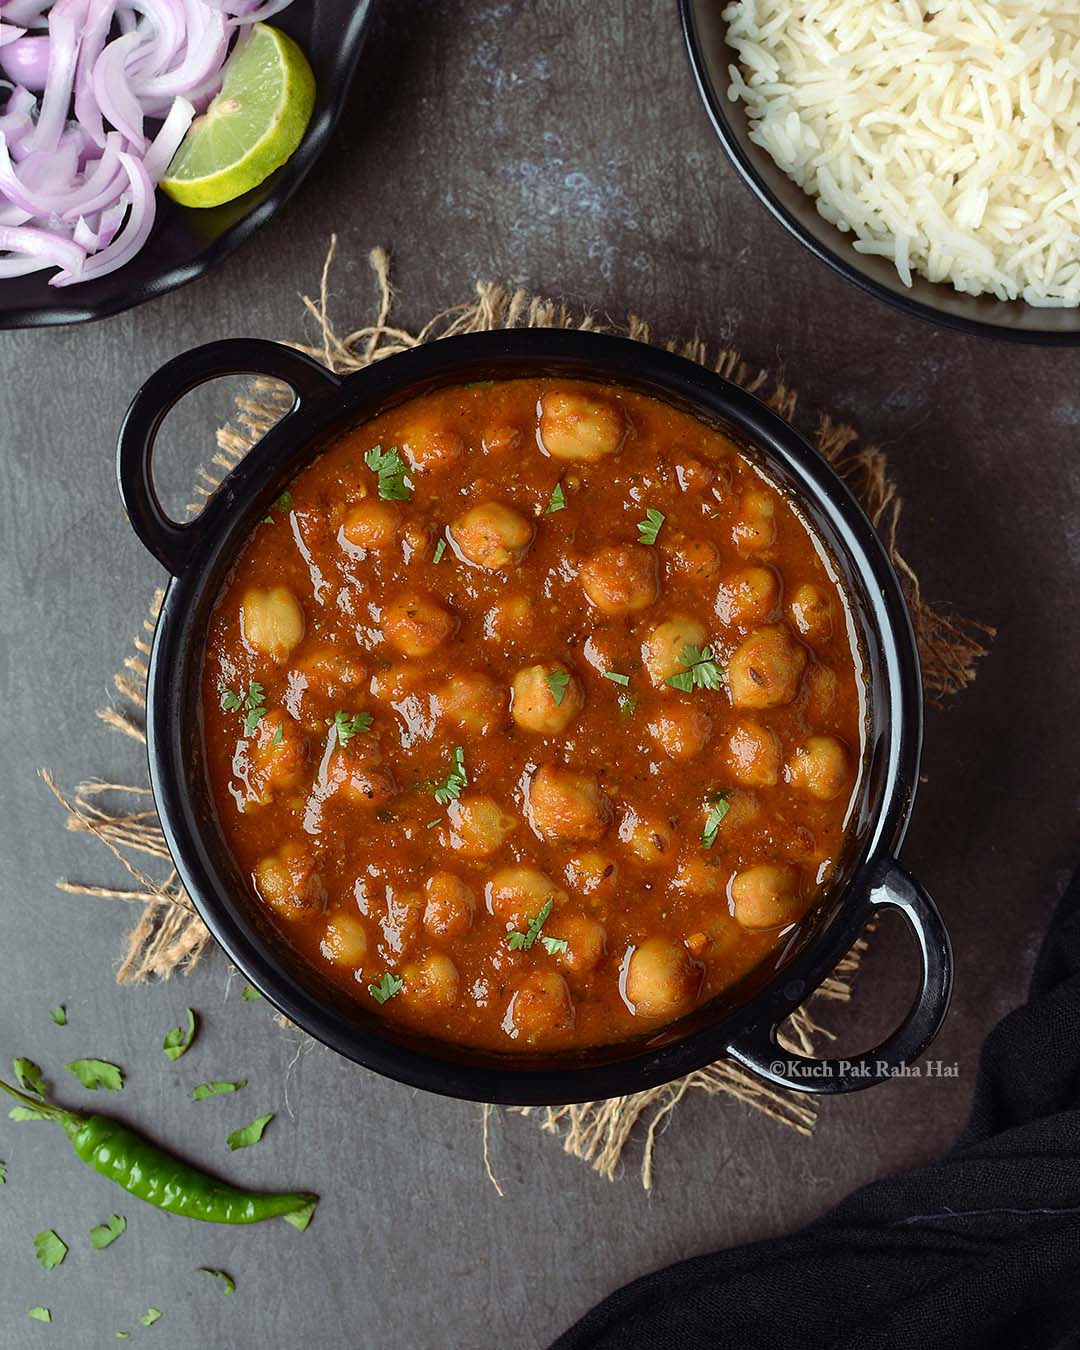
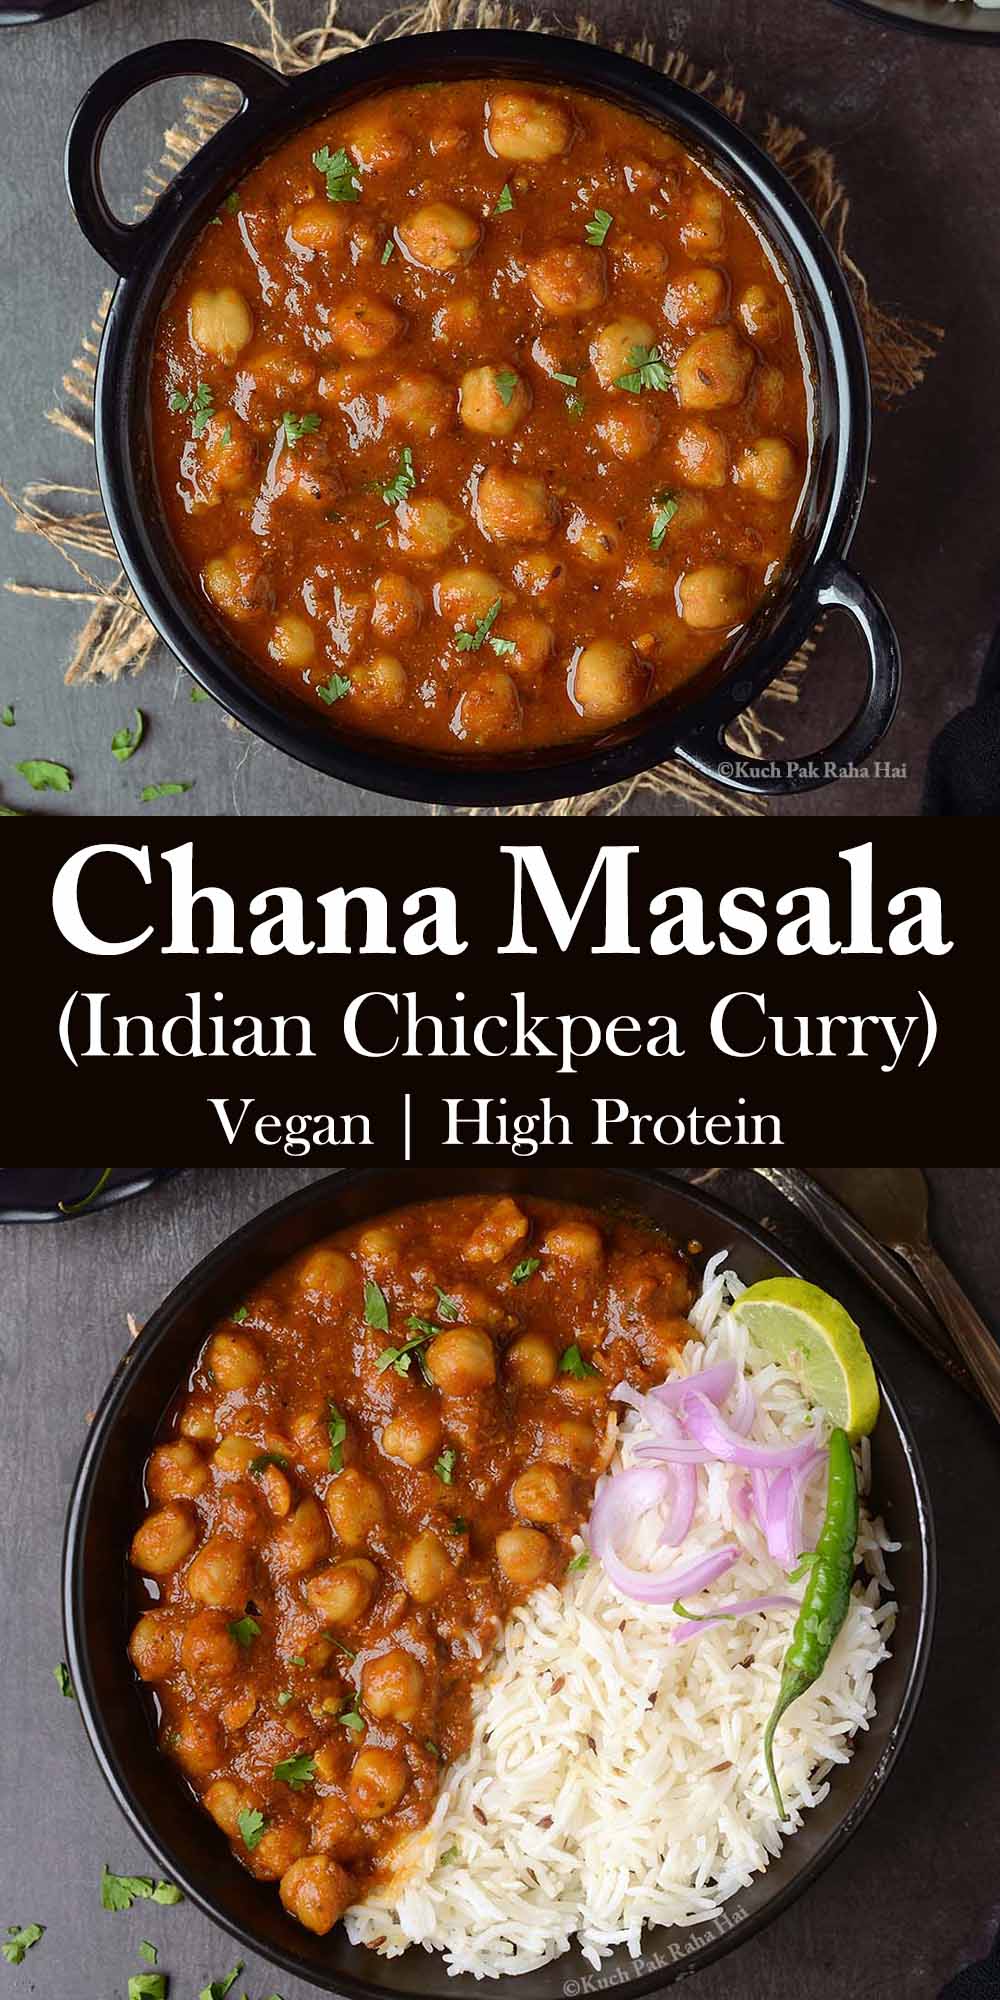
Chana Masala is a delicious, flavour packed, tasty North Indian vegetarian dish made with chickpeas (chana), onion, tomatoes, ginger & few spices. It is a high protein, vegan, gluten free curry recipe & can be served with paratha, roti or basmati rice.
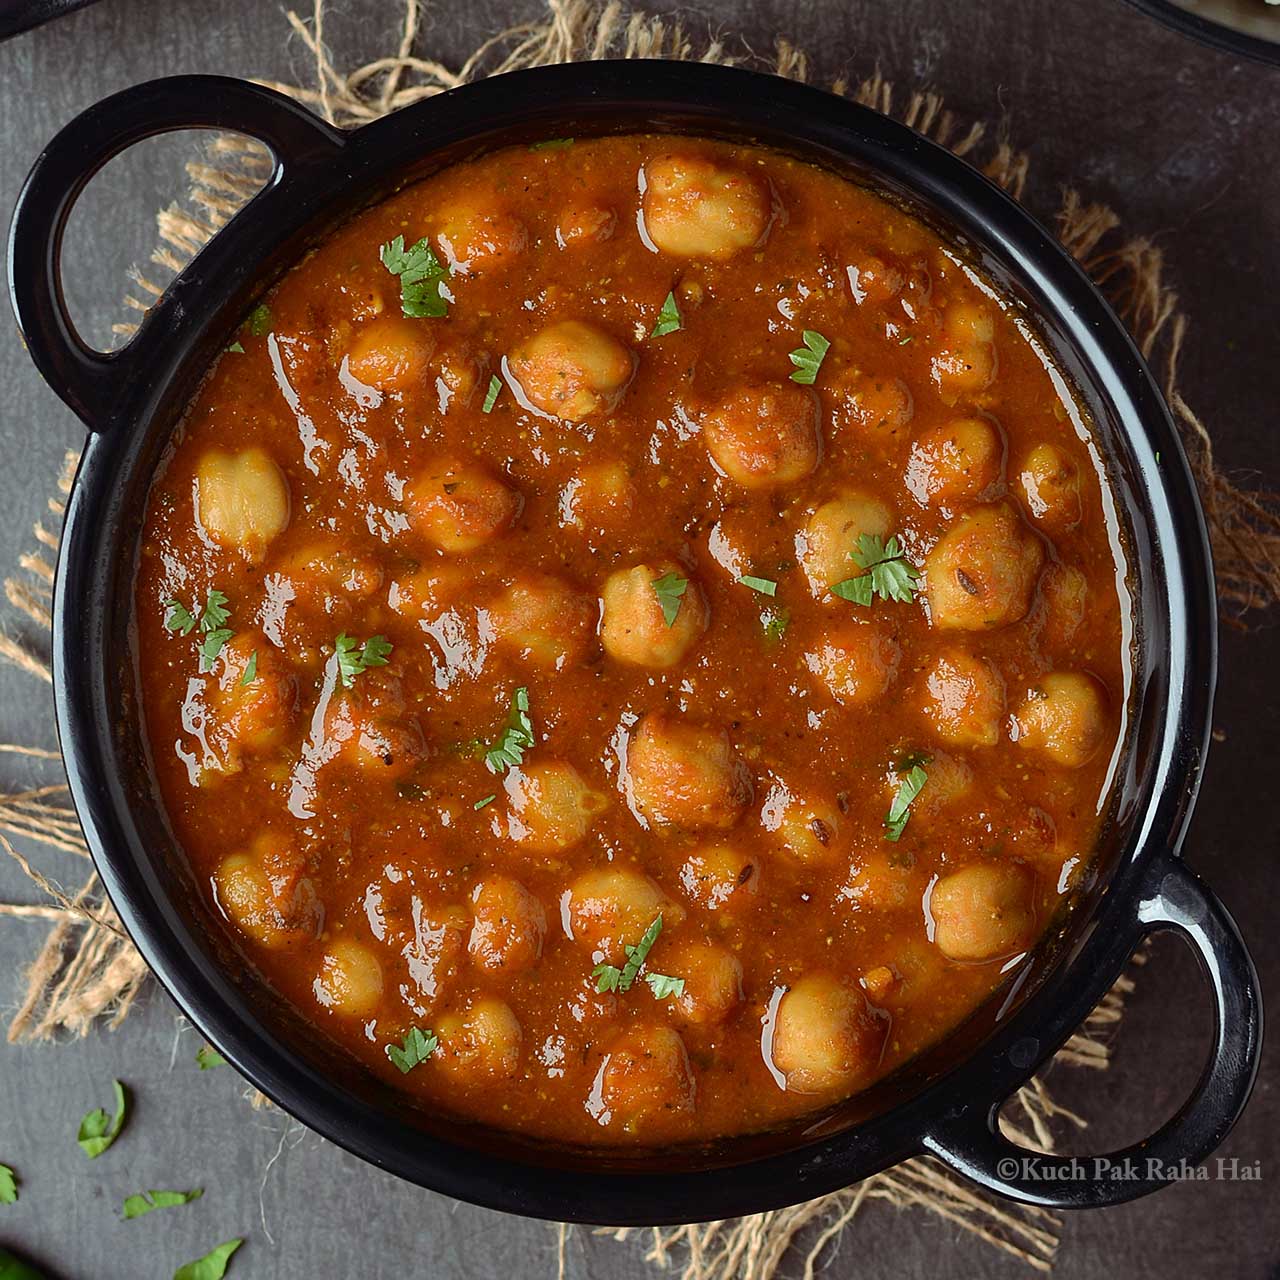
Chickpea is also known as chana, kabuli chana, chhole or garbanzo beans. It is a type of legume, belongs to plant family Fabaceae & is pale brown in colour. Chick pea is known to have number of health benefits as it is a rich source of protein, fibre, vitamins & minerals like vitamin B9, copper, manganese etc.
Chana Masala is a popular dish in India and has originated from Punjab state. It is also referred to as chole masala, chhole masala, kabuli chana masala, Punjabi chole or Indian chickpea curry.
You can make chickpeas curry in instant pot or on stovetop. In this post, I have made it in pressure cooker on stovetop. If you are using canned chickpeas, then you don’t even need pressure cooker and it can be made easily in any pan or pot.
How to make Chana Masala?
The term masala here means spiced gravy. The making of chana masala involves 3 main steps – boiling the chickpeas, preparing the masala (gravy) & cooking the boiled chickpeas in this lip smacking gravy till they absorb all the flavour.
1. Boiling the chickpeas:
The traditional method of making chana masala involves soaking raw uncooked white chickpeas overnight (6-7 hrs). Soaking process reduces the cooking time & also makes them easier to digest. These soaked chickpeas are then pressure cooked (in pressure cooker or instant pot) till they become soft in texture.
I like to add bayleaf while boiling chickpeas as it absorbs it lovely herbal fragrance really well. However if you don’t have it you can skip adding it.
If you are using canned chickpeas, you can skip the soaking & boiling step. Just make sure that they are cooked properly & tender in texture. Drain the liquid in the can & wash the chickpeas before proceeding with the recipe.
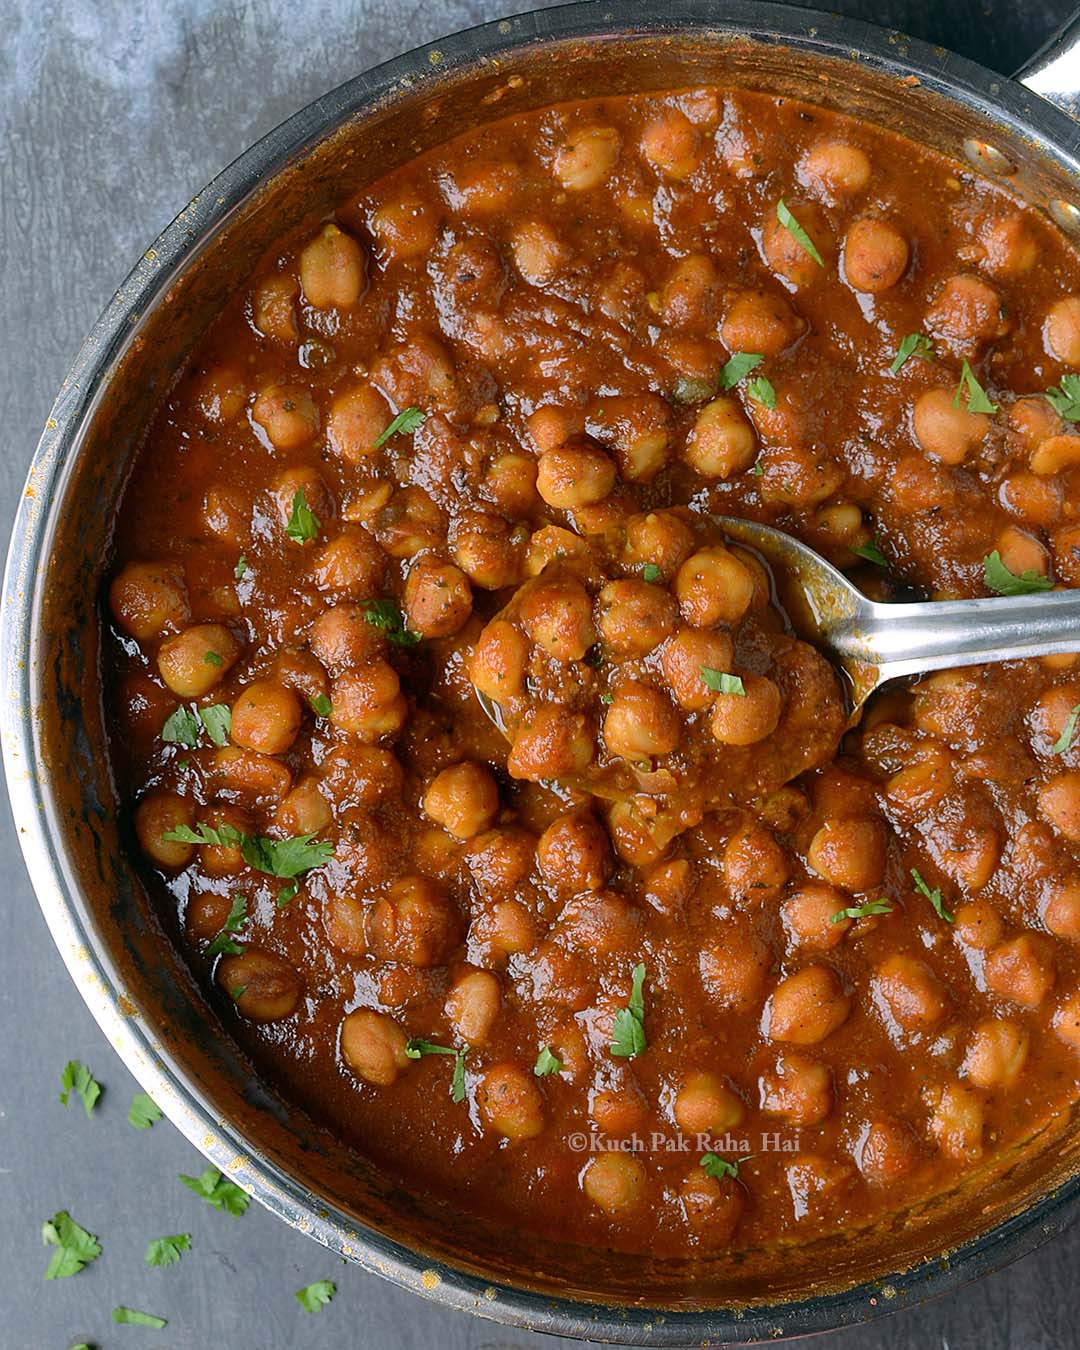
2. Preparing the masala gravy:
The gravy is prepared with onion, tomatoes, ginger, garlic, green chillies and aromatic spices like cinnamon, cloves, cardamom, cumin (jeera), garam masala & kasuri methi (dried fenugreek leaves) etc.
Garam masala lends the curry so much of flavour & aroma as it a blend of multiple spices like coriander, mace, cumin, black pepper & nutmeg etc.
You can adjust the spices as per your taste. I have used both green chillies & red chilli powder in gravy but if you like less spicy food skip either of them.
3. Cooking chickpeas in gravy:
In the final step, the chickpeas are simmered in prepared masala till they absorb all the flavours.
Is chickpea masala vegan?
Yes, this chana masala or chickpea curry recipe is totally vegan if you are cooking it any oil like olive oil, avocado or sunflower oil. Some people cook in in ghee also but then the curry will not be vegan as ghee is clarified butter.
Chickpea can be used in variety of dishes like soup, curry, salad, snack, dips or in sandwich filling. If you are looking for some more tasty chickpea recipes, then do checkout the links below:
- Falafel (Stovetop & air fryer)
- Hummus (2 ways)
- Chickpea Salad
- Air fryer Crispy Chickpeas
Chana Masala Serving Suggestions:
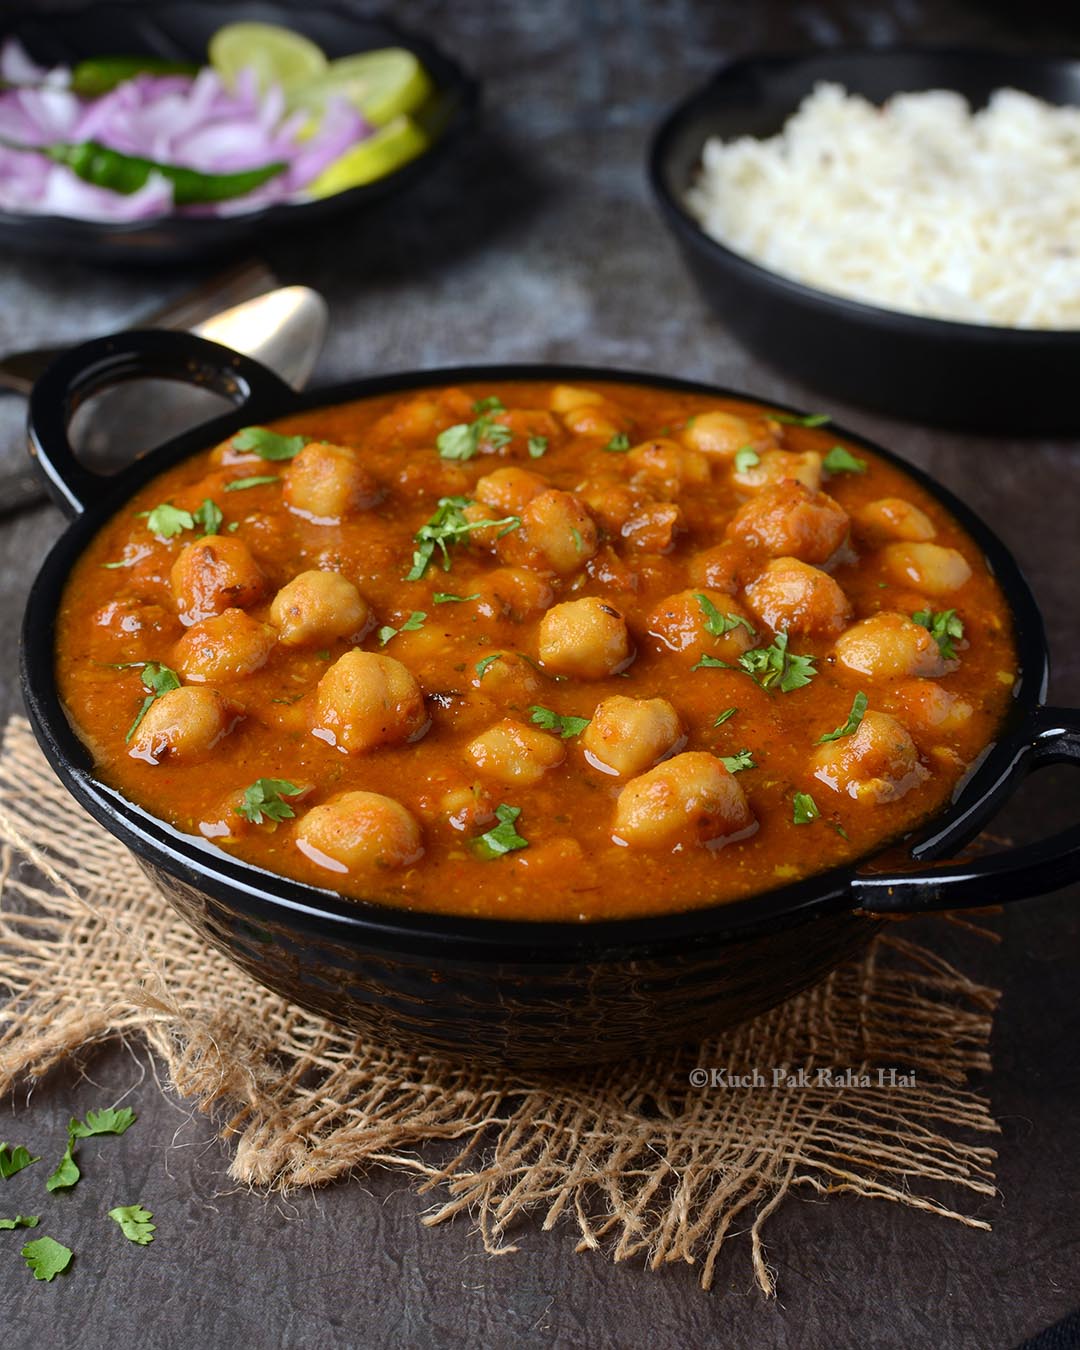
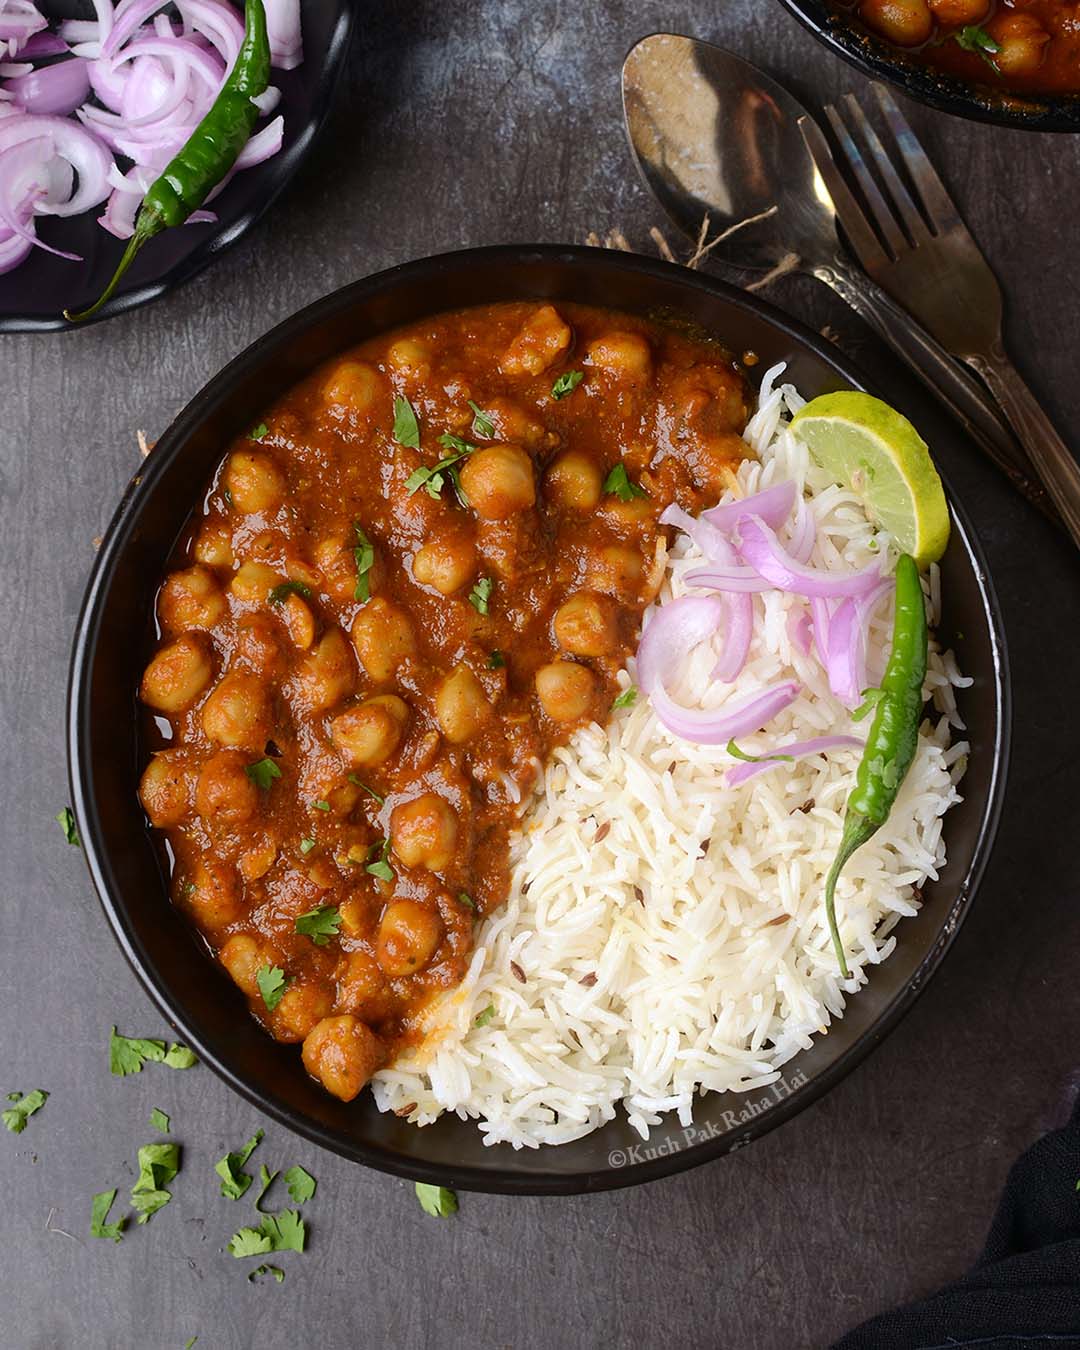
You can serve it with Indian breads like paratha, roti, poori, bhatura, naan or with rice dishes like steamed basmati rice, cumin rice (jeera rice) & vegetable pilaf etc. As it is a main course dish, you can also accompany it with side dishes like aloo gobi (potato cauliflower), baingan bharta (eggplant mash) or jeera aloo (cumin potatoes).
Hope you would like this easy chickpea curry or chana masala recipe. Some more Indian food recipes:
- Shahi Paneer
- Palak Paneer (Spinach curry)
- Dahl Palak (Spinach Lentil)
- Panchmel Dal (Mixed Lentil curry)
- Rajma Masala (Kidney Beans Curry)
Ingredients:
- Uncooked chickpeas (chana)*- 1 cup
- Water- 3 cups + 3.5 cups
- Bay leaf- 1 (optional)
- For gravy:
- Olive oil (or any vegetable oil)- 1 tbsp
- Cinnamon- 1 inch piece
- Cumin seeds (Jeera)- 1/2 tsp
- Cloves- 2
- Green Cardamom- 2
- Ginger- 1 inch piece (grated)
- Garlic- 3 to 4 cloves (minced)
- Green Chillies- 2 (finely chopped)
- Onions- 2 medium (pureed)
- Tomatoes- 3 medium (pureed)
- Turmeric powder – 1/4 tsp
- Cumin powder- 1/2 tsp
- Red Chilli Powder- 1/2 tsp
- Coriander Powder- 1 tsp
- Garam Masala- 1/2 tsp
- Kasuri Methi – 1 tsp (optional)
- Amchur / Lemon Juice-1/2 tsp
- Salt- 1 tsp (or to taste)
Notes:
- *equivalent to 2.5 cups of soaked chickpeas & 3 cups of cooked (canned) chickpeas.
- If you don’t have all spices mentioned above, check out tips at the end of post.
- Amchur is dry mango powder & is used to add sourness to curries. You can easily replace it with fresh lemon juice.
- You can also use ginger garlic paste if you don’t have fresh ginger & garlic.
Directions:
Step 1: (Soaking)
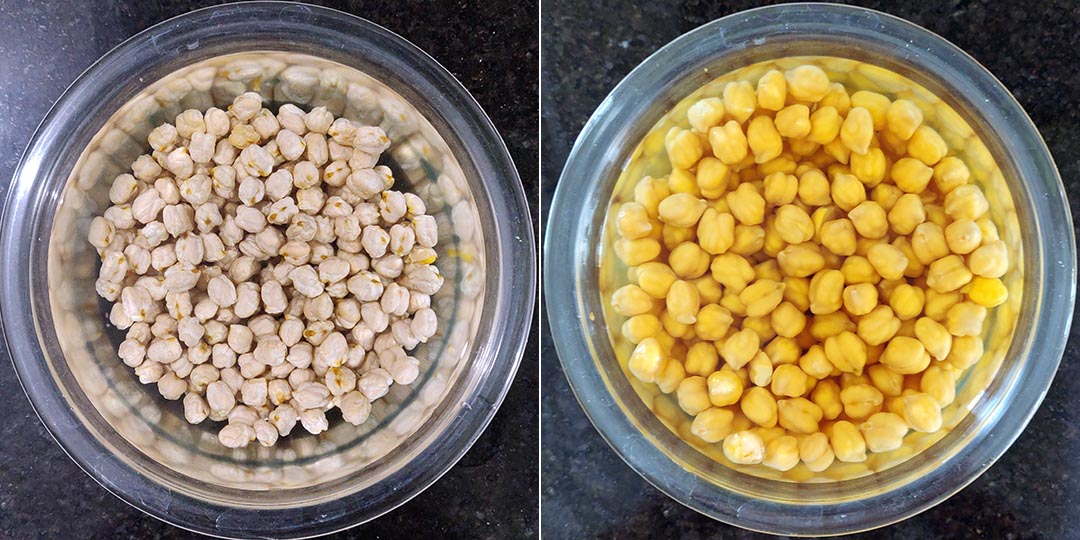
Rinse the chickpeas 2-3 time to get rid of dust. Soak them overnight (7-8 hrs) in 3 cups of water. They will absorb water & almost double up in size.
Step 2: (Boiling)
Discard the water in which chickpeas were soaked. Add chickpeas, 3.5 cups fresh water, salt & bay leaf in a pressure cooker. Boil these chickpeas on high heat for 2 whistles then simmer for 15 min. Once the pressure releases naturally, open the lid & check one chickpea by pressing between thumb & index finger. It should get mashed completely without any resistance. Keep these boiled chickpeas aside.
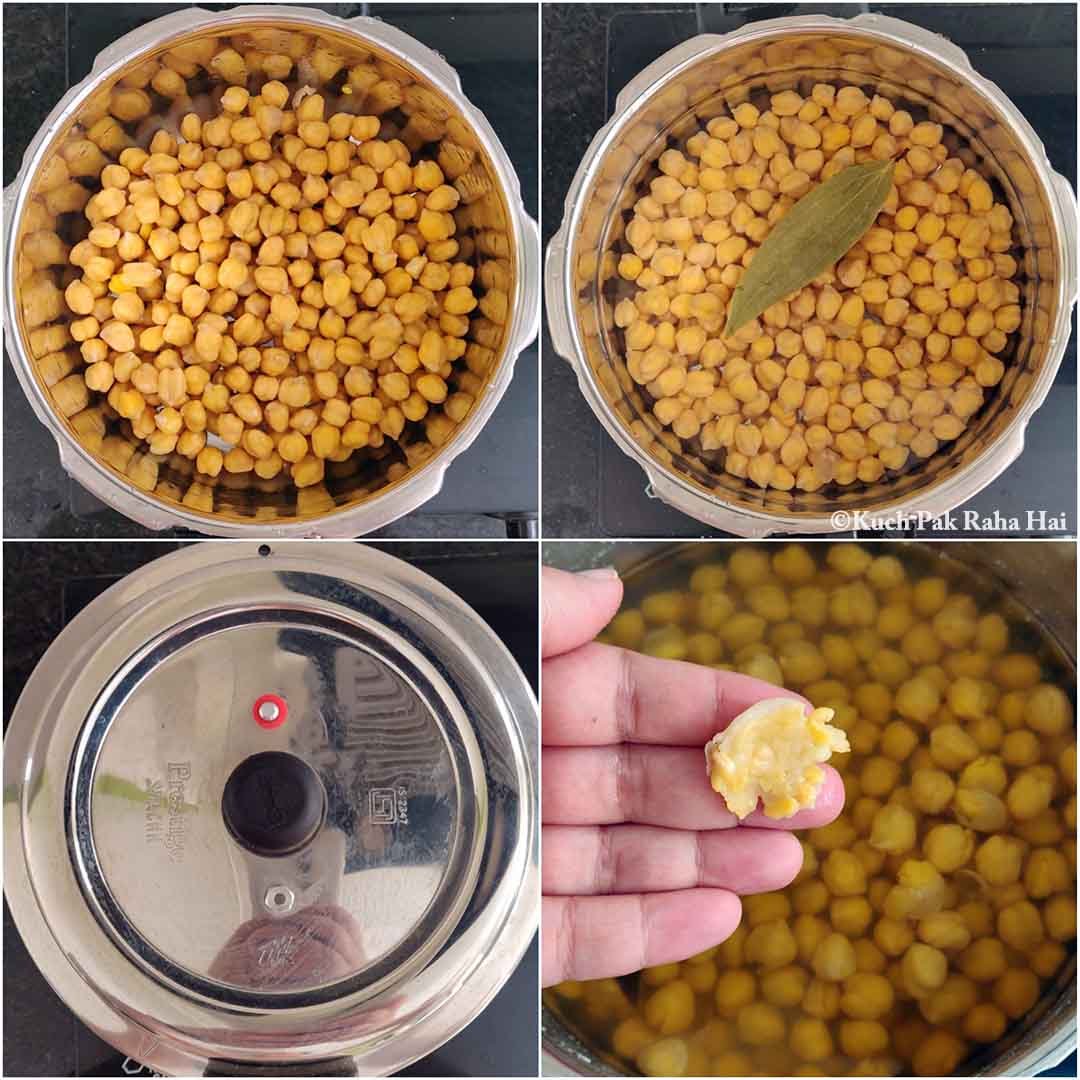
(Don’t discard the water in which chickpeas were boiled as it is very nutritious. We will use it later in gravy.)
Step 3:
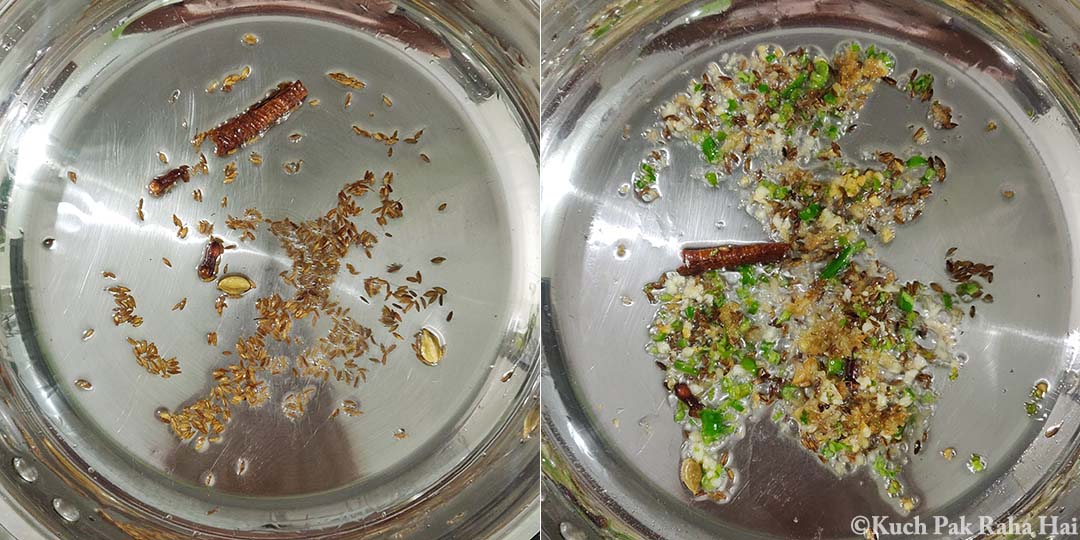
Heat oil in a pan. Add cumin seeds, cloves, green cardamom & cinnamon stick to it. Cook for 30 to 40 seconds till they begin to release their aroma. Add ginger, garlic, chillies & stir for another 20-30 seconds.
Step 4:
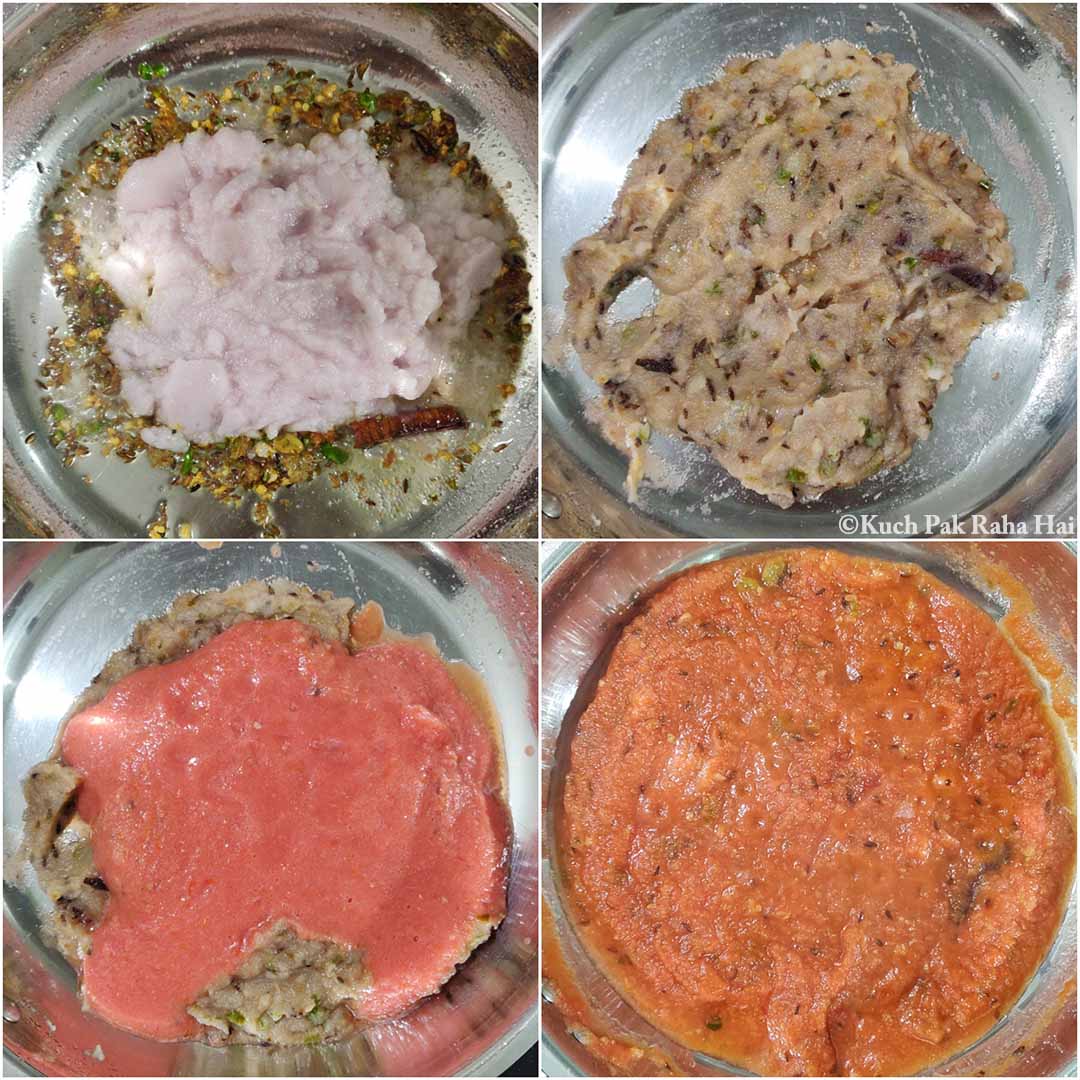
Add pureed onions to it. Cook till it becomes brownish & you can no longer smell raw onions. Add fresh tomato puree to it and cook till the mixture begins to thicken up.
Step 5:
Add turmeric powder, cumin powder, red chilli powder, coriander powder & garam masala to it. Cook till you see the fat separating from the masala (the cooked masala mixture will start to look glazy).
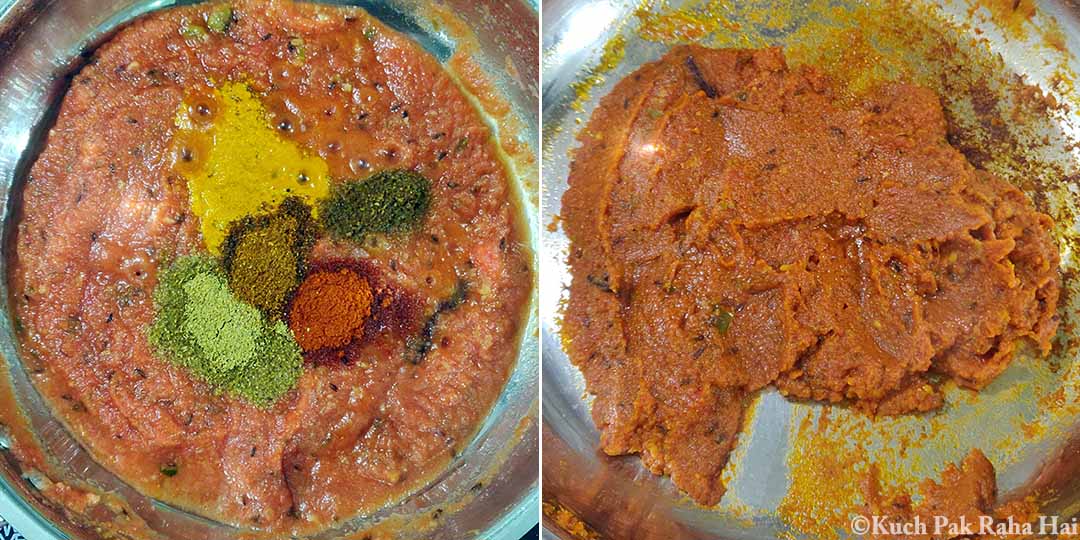
Step 6:
Add the boiled chickpeas to it along with the water in which they were boiled (~2 cups). Mix well and bring it to boil once. Cover & simmer for 10-15 minutes. The gravy will thicken up.
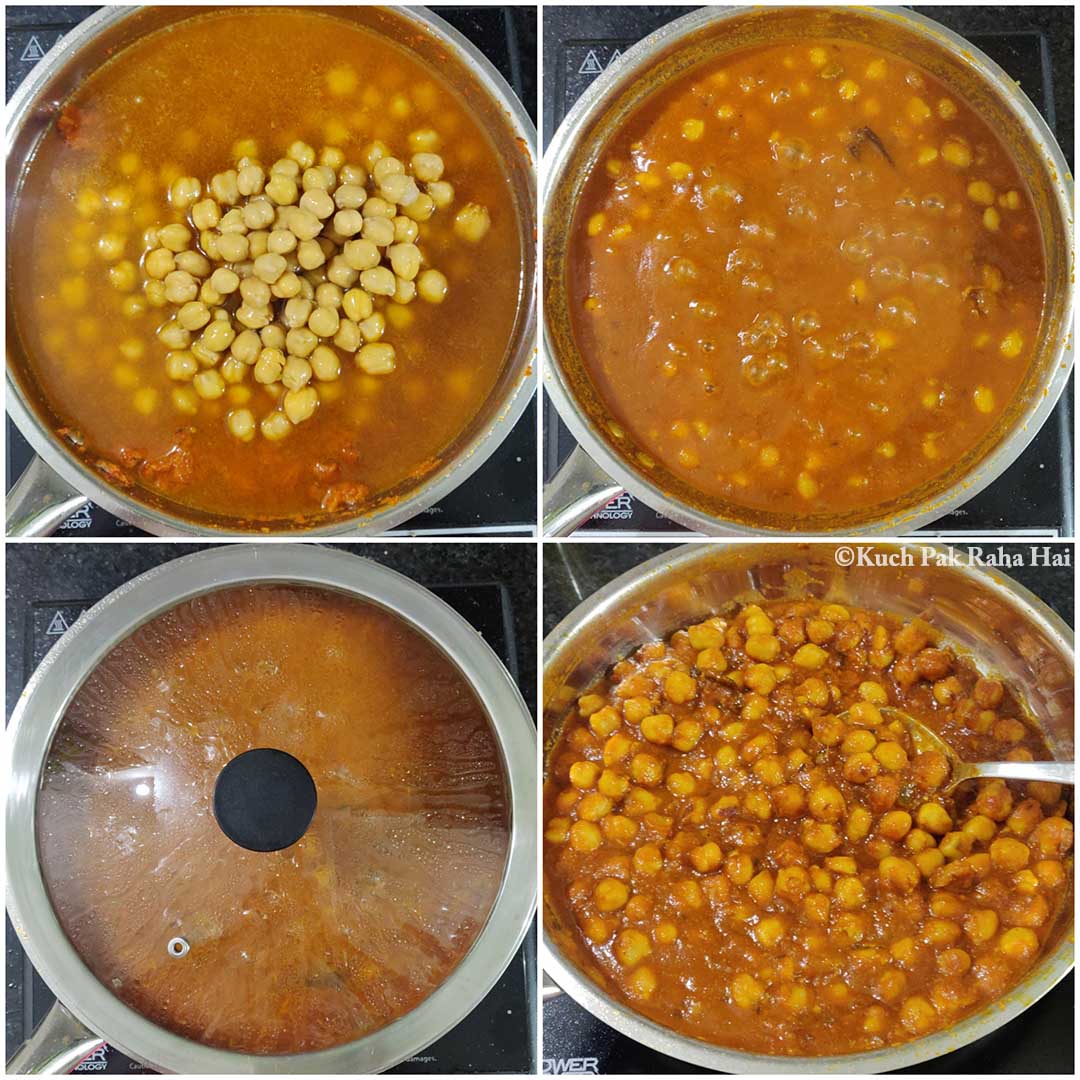
Step 7:
In the end, add amchur powder or lemon juice. Crush dried kasuri methi between your palms & add it to the curry.
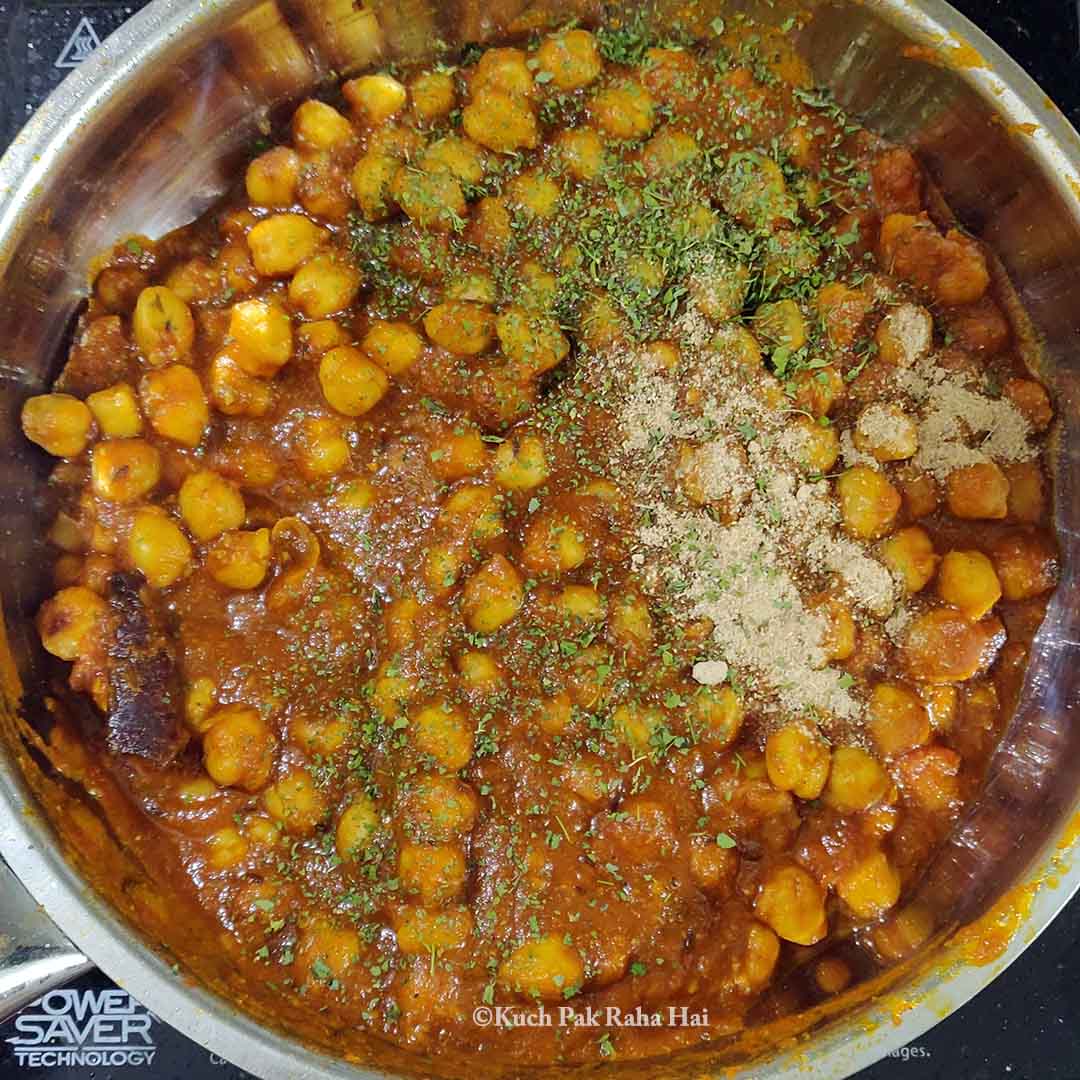
Mix well & taste once to adjust salt or lemon juice as per your taste. The gravy will thicken up little bit more on cooling down. If it becomes too thick, you can little bit of remaining chickpea stock or water.
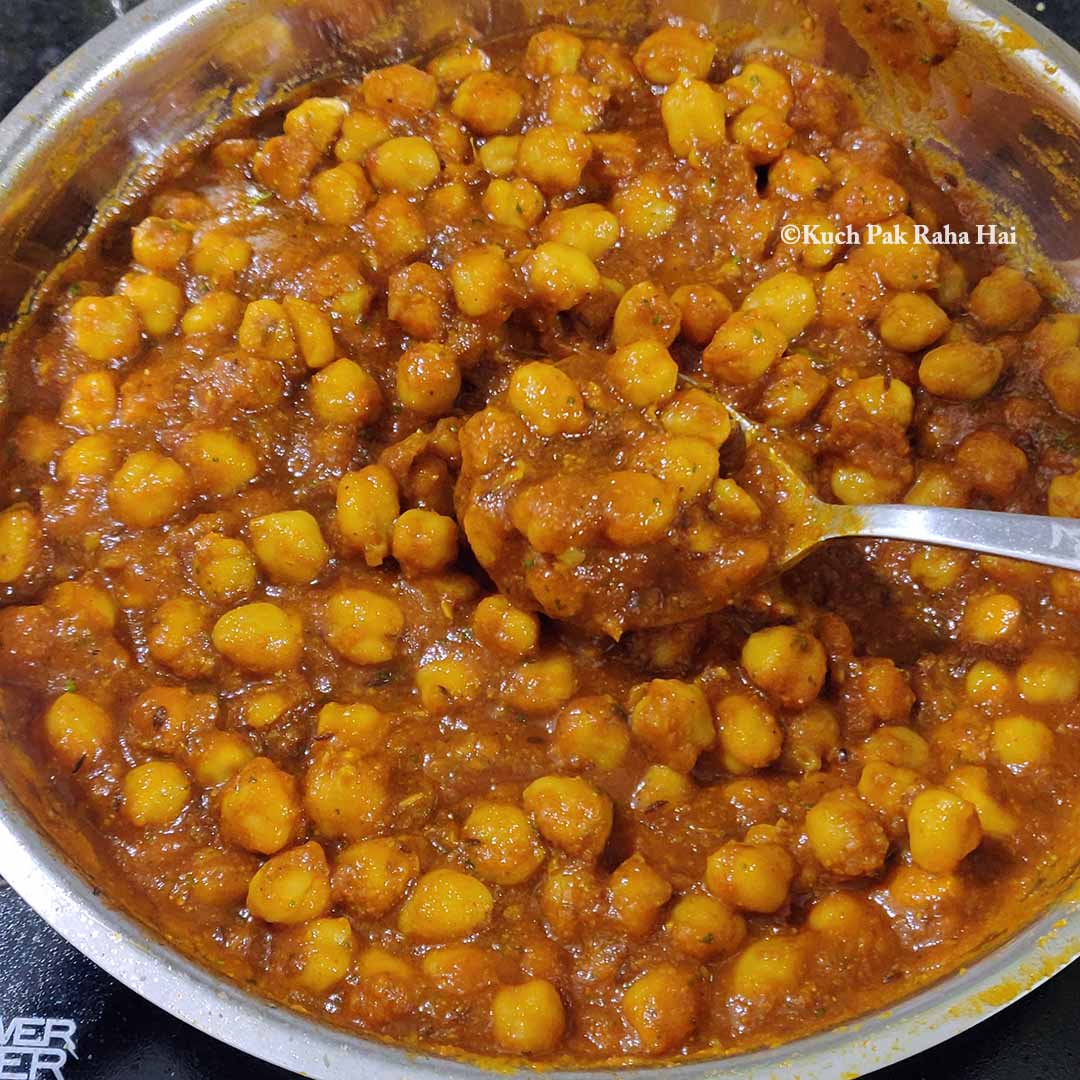
Remove cinnamon stick or bay leaf before serving. Garnish the chickpeas curry with some freshly chopped cilantro or coriander. Serve it hot with paratha, roti or steamed rice.
FAQ:
How to store chickpea (chana) masala?
You can easily store leftover chana masala in fridge for 2-3 days. Whenever you want to consume it, heat in microwave or on stovetop in a pan. The chickpeas tends to absorb moisture with time & if the gravy becomes too thick, add 3 to 4 tbsp water while heating.
Can we freeze chana masala curry?
Yes, it can easily be stored in any freezer safe container in freezer for upto a month.
Tips:
1. If you don’t have all the spices mentioned in the ingredients list above, you can use readymade ‘chana masala’ (1 to 2 tbsp) which is a spice mix & specifically made for this Indian chickpea curry. It is sold by the name chhole masala or chana masala powder by different brands & you can easily buy it from an Indian store near you or online (Add it in step 5).
2. To make creamy chickpea curry, you can add 1 to 2 tbsp of coconut milk while cooking spices in step 5.
Pin for later:
If you try this vegan chickpea curry recipe & share pics on social media, then don’t forget to tag us on Facebook or Instagram or use #kuchpakrahahai.
Let’s stay connected
Facebook| Instagram| Pinterest| Youtube


 (60 votes, average: 4.30 out of 5)
This is so good. It is also forgiving – I used ground spices instead of whole cardemon pods, whole cinnamon stick and whole cloves. Best recipe for home cooking Indian dish I’ve found! Thank you
Thank you for sharing this lovely feedback. So glad to hear you liked it 🙂
This is incredible!! I swapped some of the ingredients. I used 1/2 tsp of ginger powder instead of the fresh ginger. I also used a bit more chili powder because I didn’t have chiles. But so tasty. Thank you for sharing!
Thank you Kristina for sharing your feedback. So glad to know you liked it.